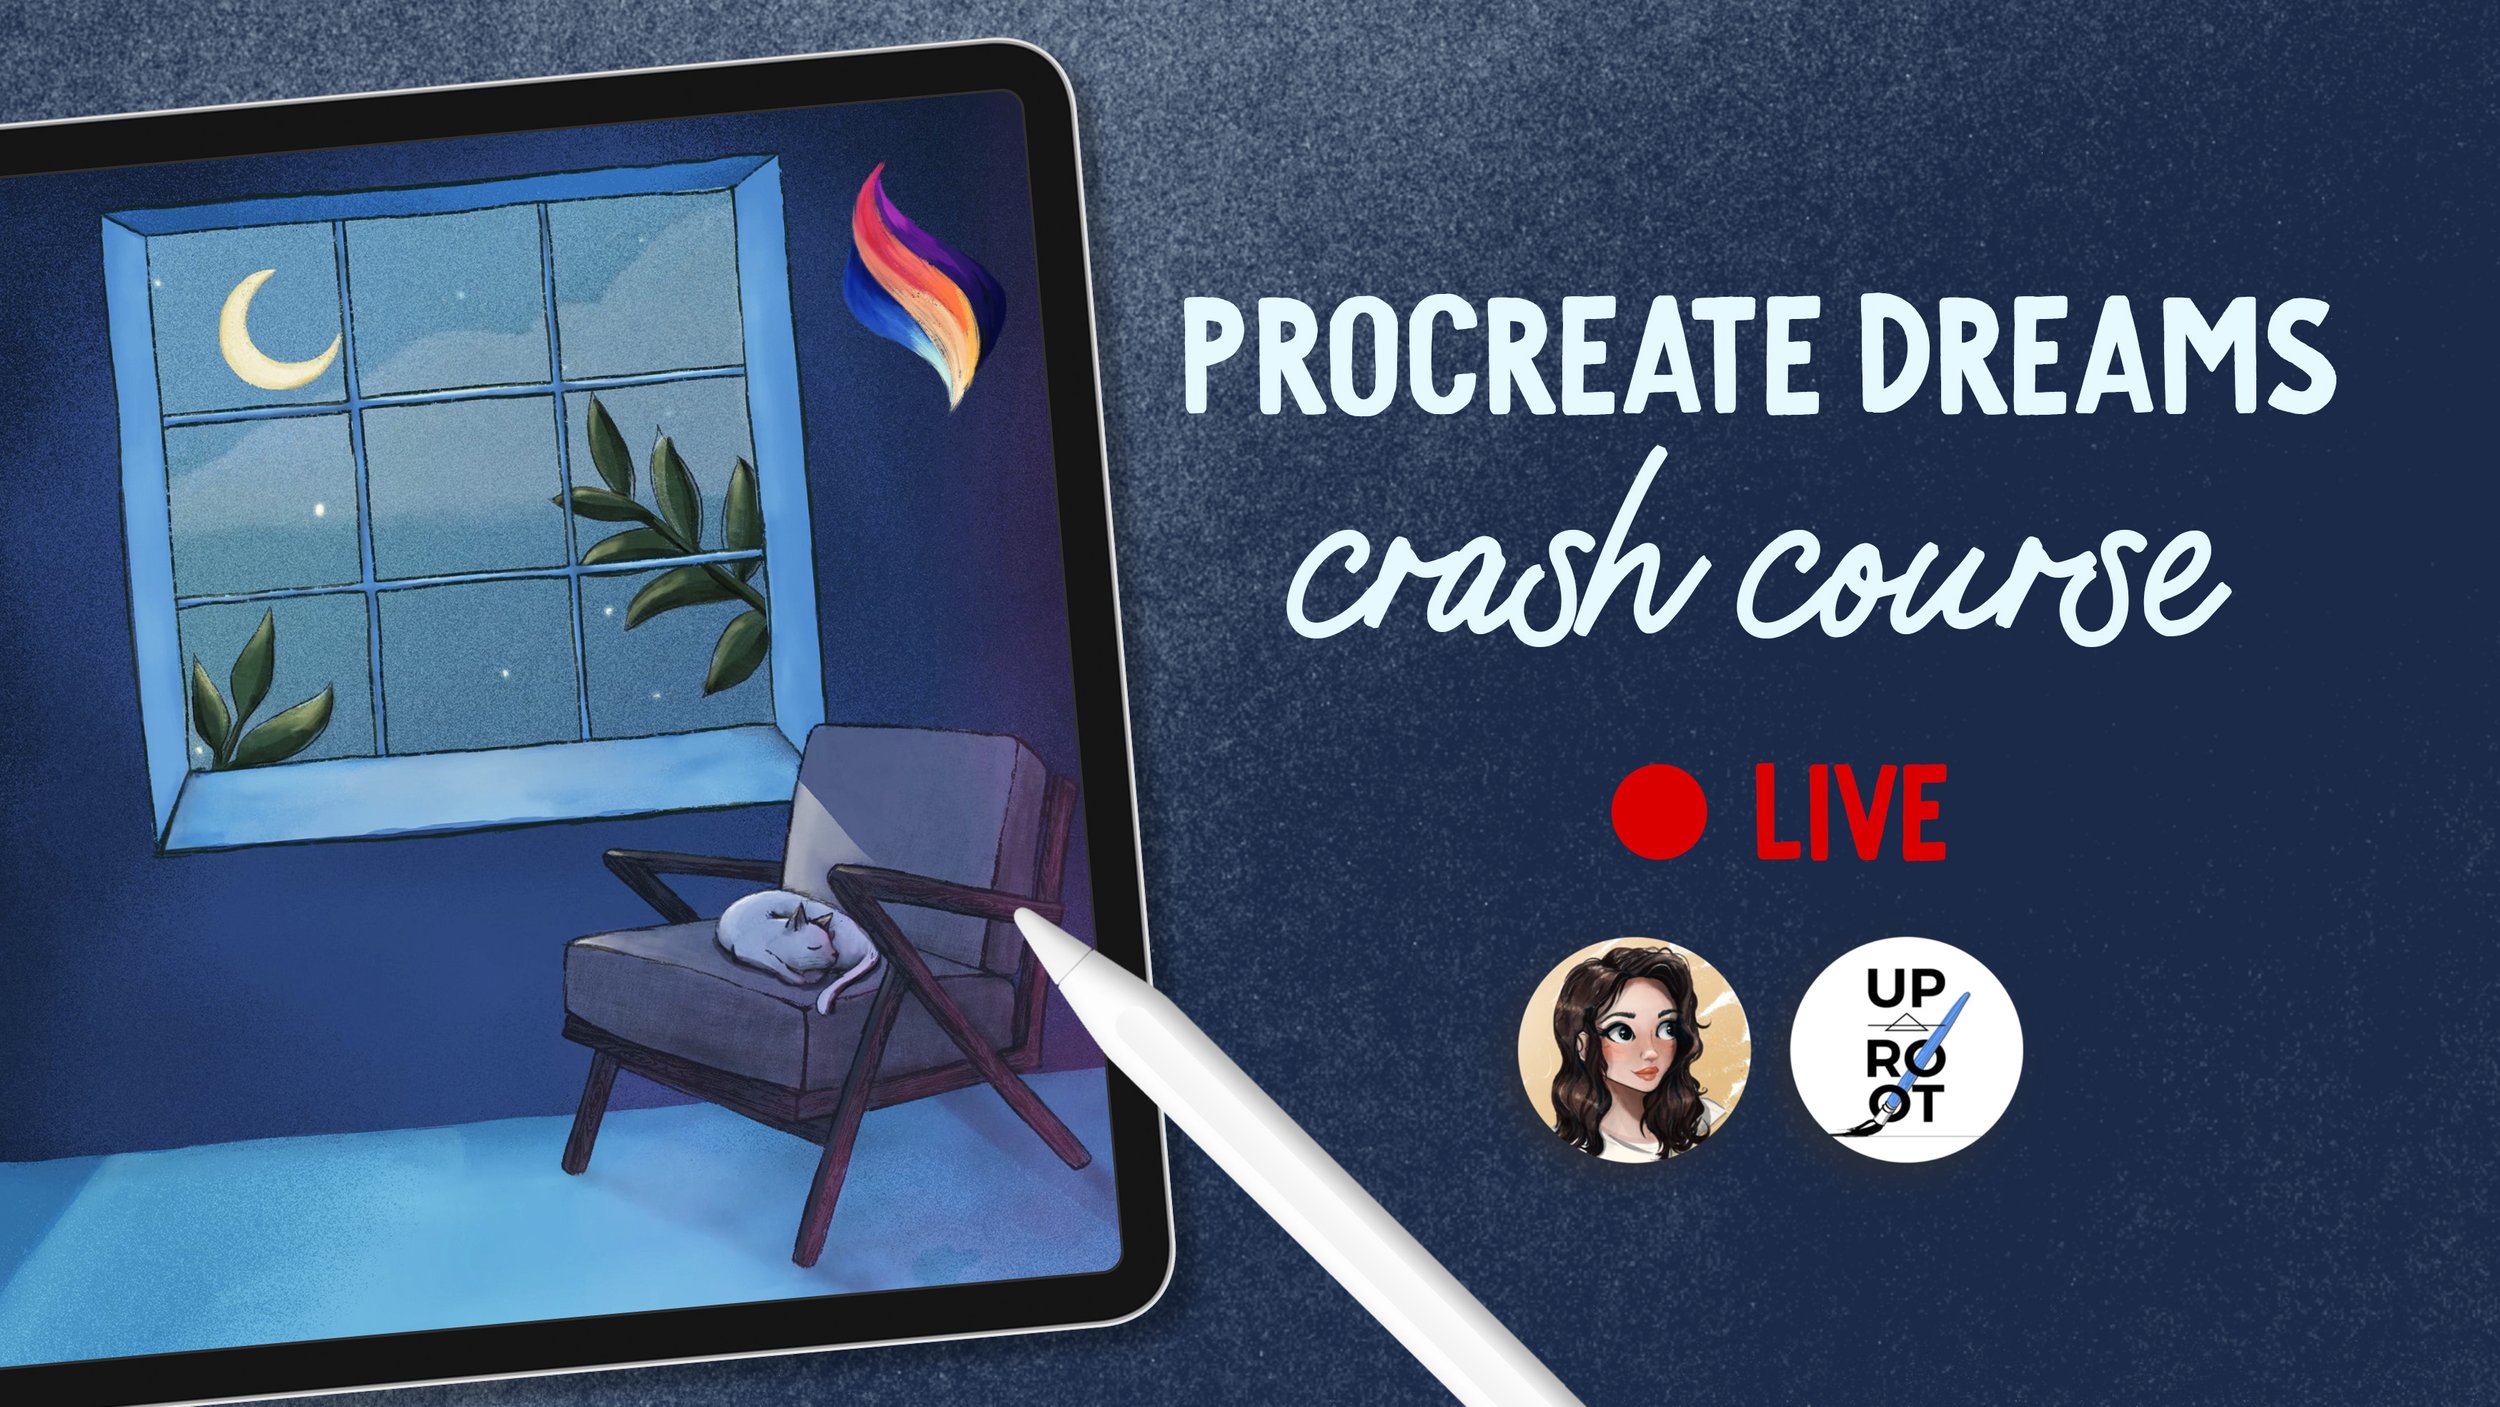
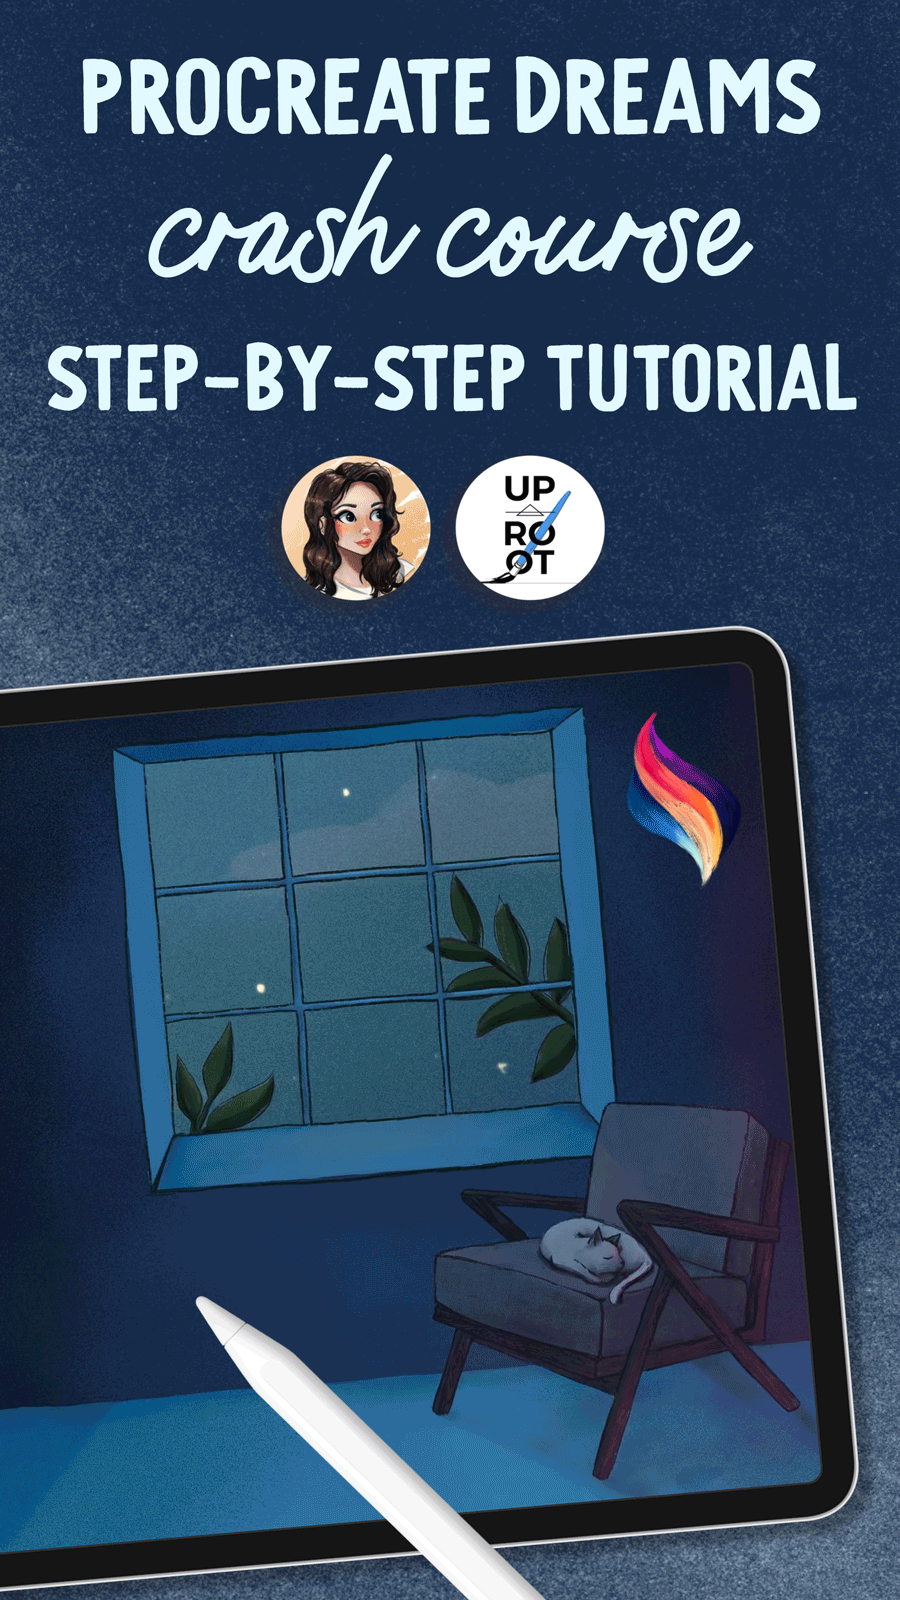
Procreate Dreams Animation Crash Course
In this live session, we walk through a simple animation project in Procreate Dreams! We first walk through the basic app interface, cover how to change project settings, and show how to navigate the timeline and drawing area. Then we show you how to import a project from Procreate into Dreams, along with brushes and color palettes. Once our project file is set up and ready to go, we draw and animate several different components, showing you how to keyframe for basic linear movement, rotation, warp, and opacity.
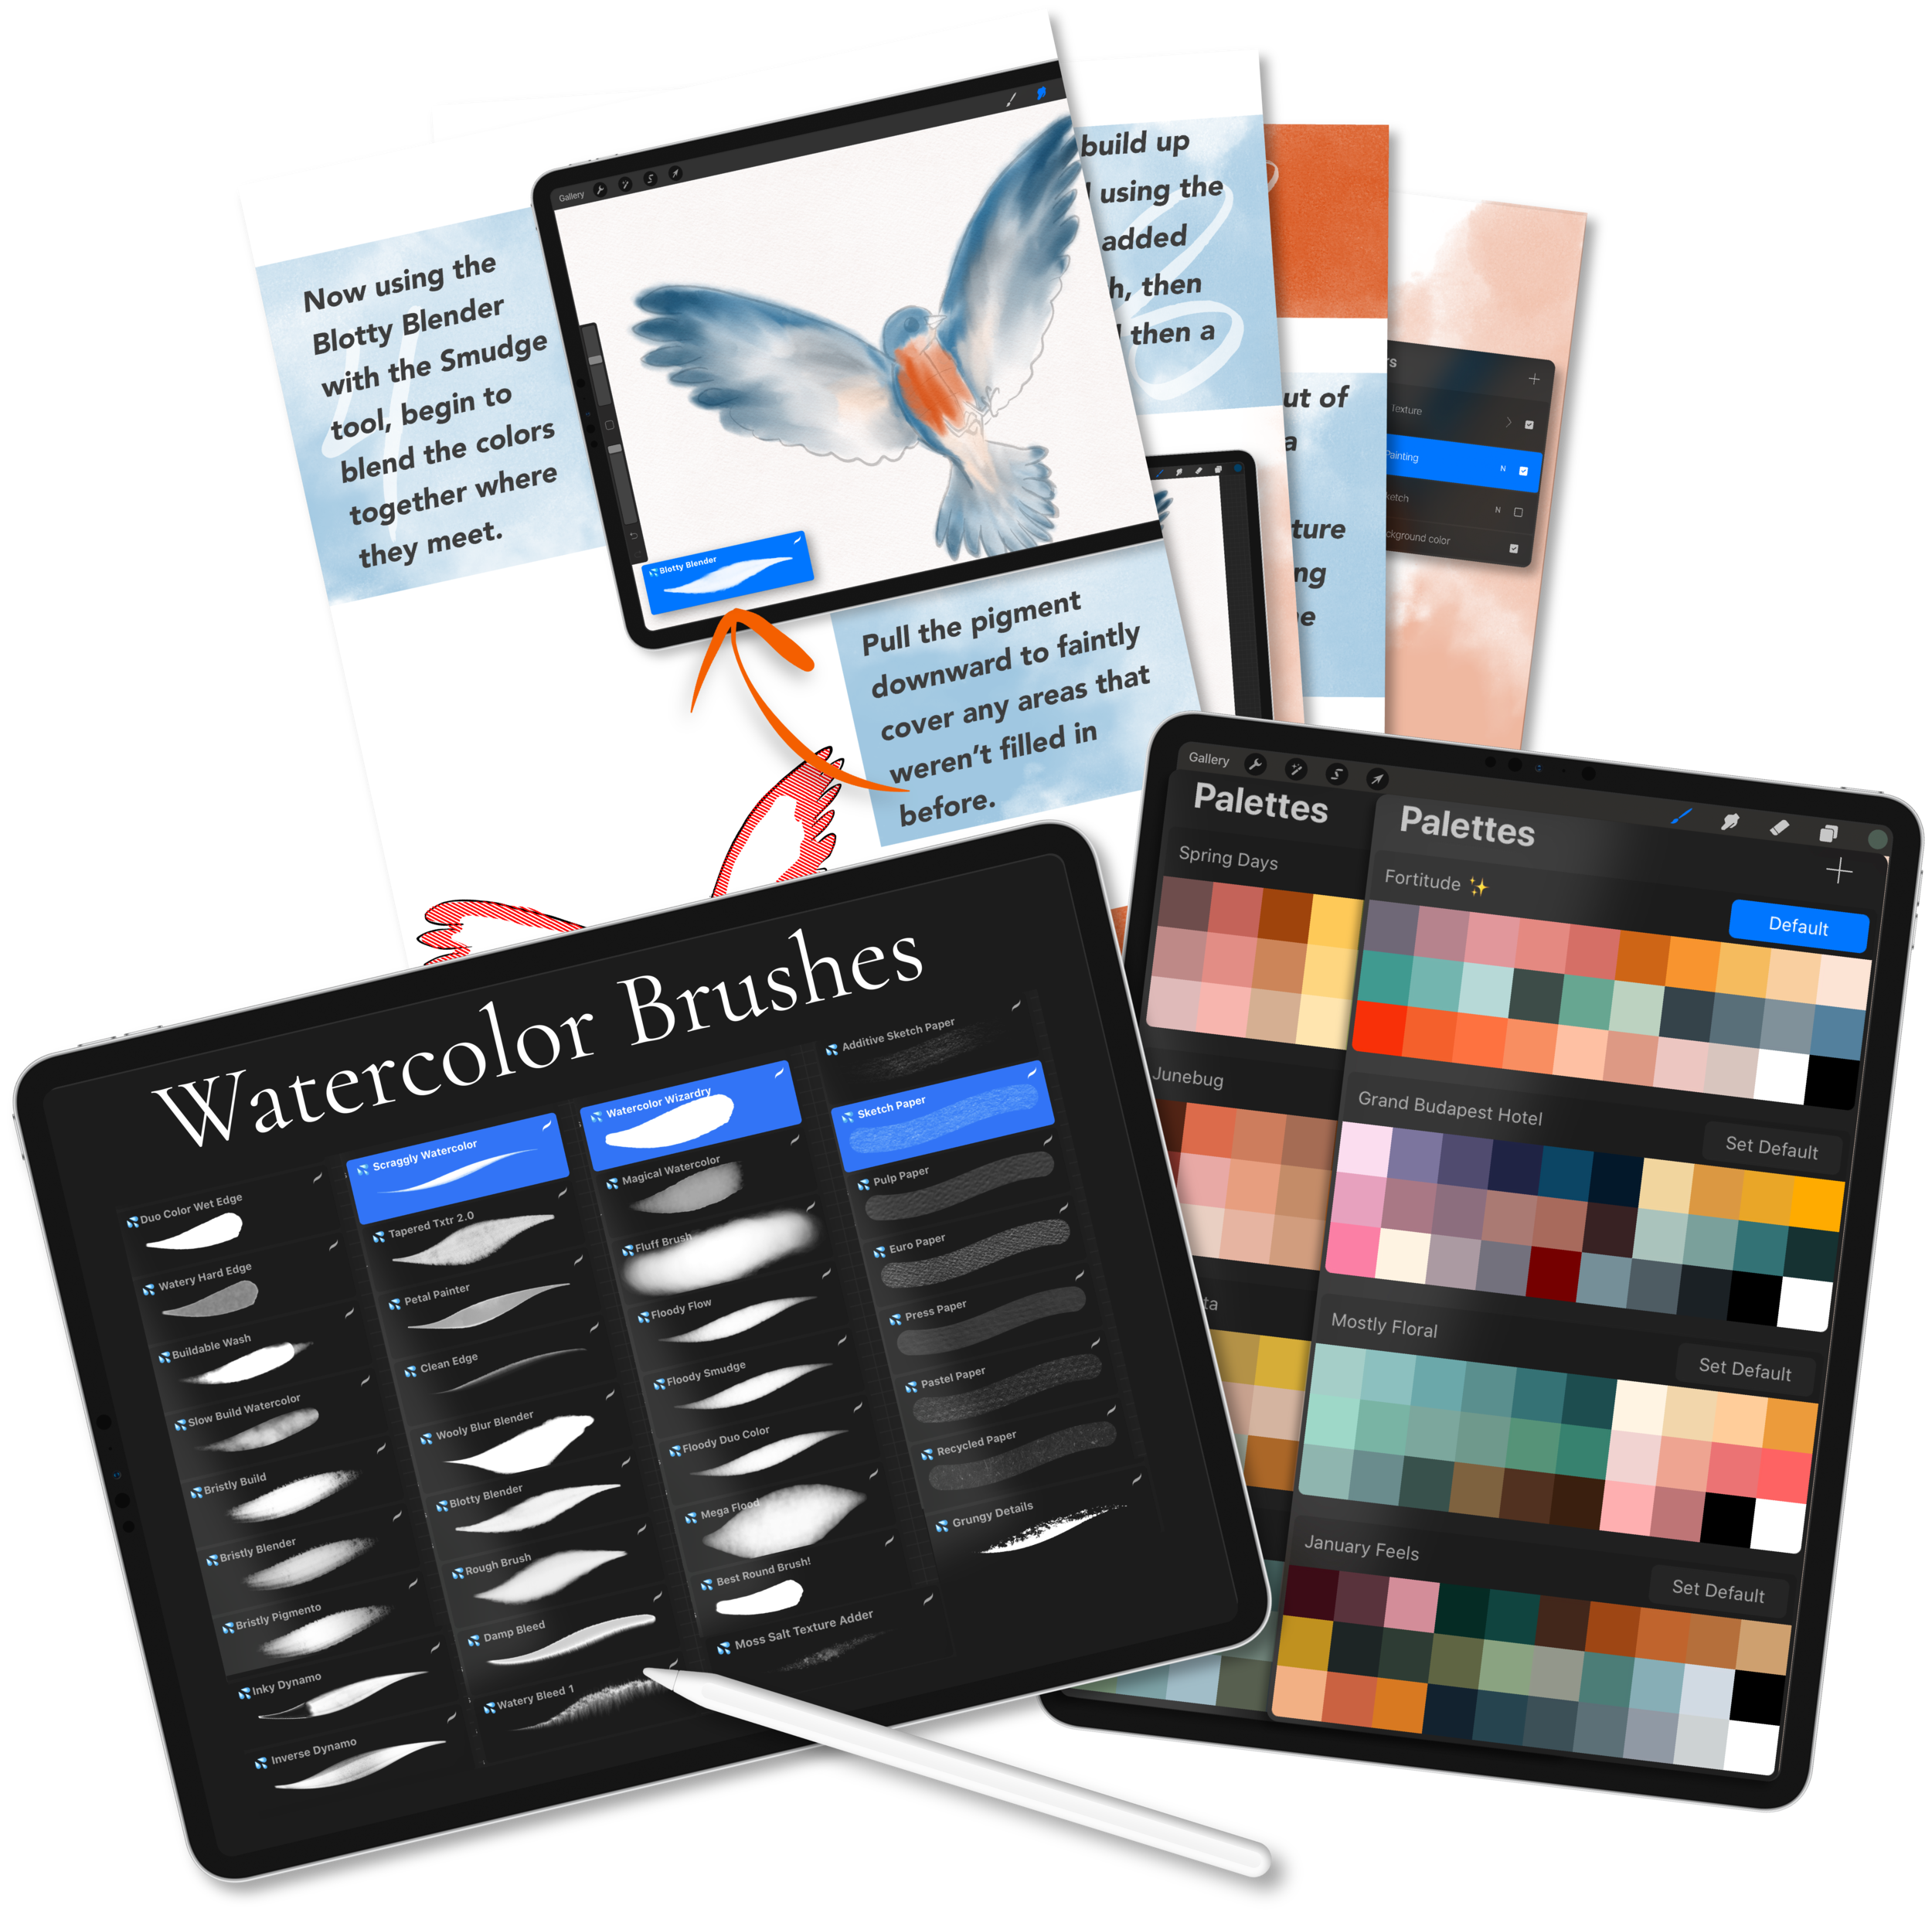
You’ll need the project file and color palette, available for download here, to follow along step-by-step. We’re using the brushes below, but feel free to use any brushes you have - you’ll just need a painting brush, a pencil, and a smudger.
Brushes used:
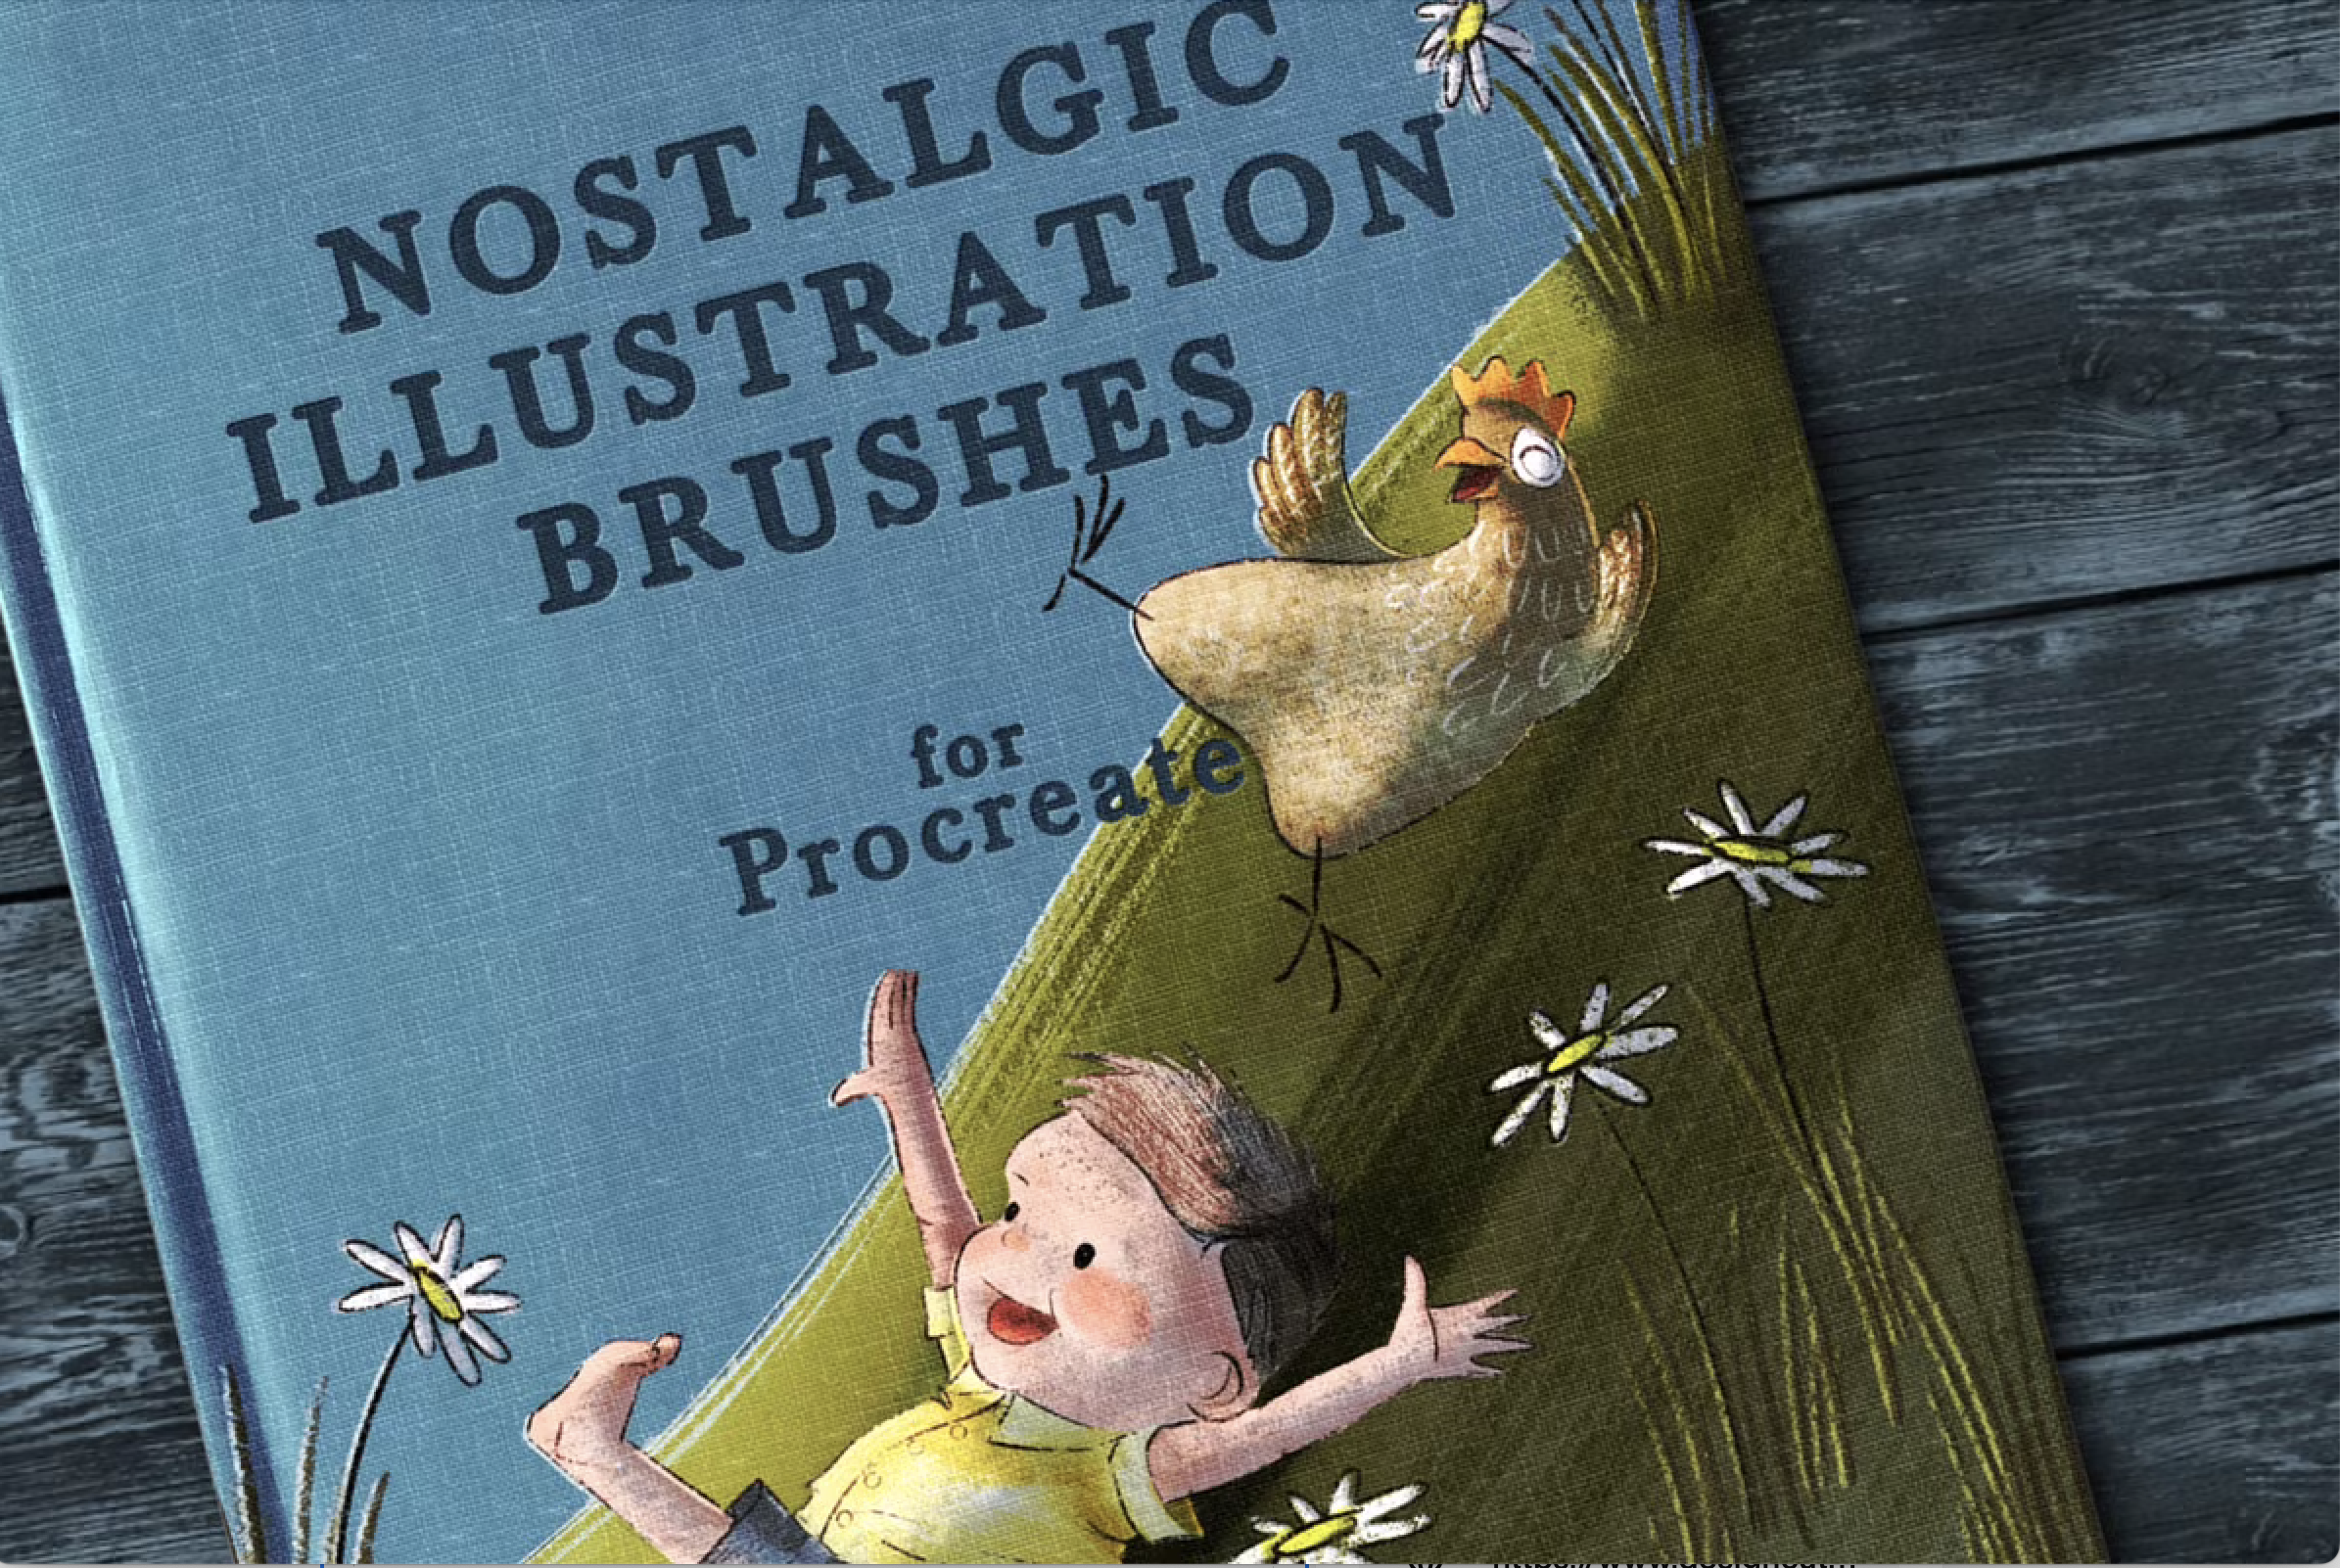
We used Abbie’s Nostalgic Illustration Brushes for this session - a great assortment of paint brushes, watercolor, pencils, texture shaders, and more. Use my affiliate link with code WOOLY10 at checkout to get 10% off your purchase:
Here are the timestamps of the video, for easy navigating:
0:00 - Intro
1:54 - Procreate Dreams Interface
6:24 - Fixing accidental ad break :(
8:00 - Resuming Dreams Interface Walkthrough
18:50 - Import Projects from Procreate to Dreams
24:45 - Import Brushes and Color Palettes
27:05 - Setting up new drawing tracks
30:59 - Drawing the moon
33:20 - Animating the moon (rotation)
40:20 - Drawing the clouds
46:03 - Animating the clouds (move and scale)
48:26 - Drawing the stars
49:56 - Animating the stars (rotation)
52:19 - Animating the cat (warp)
58:04 - Animating the moonlight (opacity)
1:02:01 - Abbie’s Version Reveal (it’s really cute)
1:06:51 - Helpful Animation Resources
Pin for later:
Never miss a tutorial
Sign up for my newsletter to get free weekly projects, tips, and Procreate resources.